はじめに
前回(さくらのVPS512(月々税抜635円)で固定IPアドレスをゲットする(OpenVPNサーバを作る))に引き続き、今回はパフォーマンスが評判の[ConoHa]![]() でVPNサーバを立ち上げる手順をまとめます。
でVPNサーバを立ち上げる手順をまとめます。
作業前提(自己責任でご判断ください)
- 今回は「[ConoHa]
 最小プラン(月々税抜900円 2016/02/15現在)」を使う
 - CentOS7.2
- OpenVPN
- ほかの機能(Webサーバ等)は一切設けない
- 複数人で使えるようにする
- 説明の簡略化のため、ほぼすべてrootで作業
- コマンドの入力、viによるファイルの編集などがあり、漏れなく作業が必要
- 契約・請求・キャンセル方法等については、GMOインターネット株式会社からの案内に従ってください
問題なければ始めましょう。
作業手順
アカウント登録
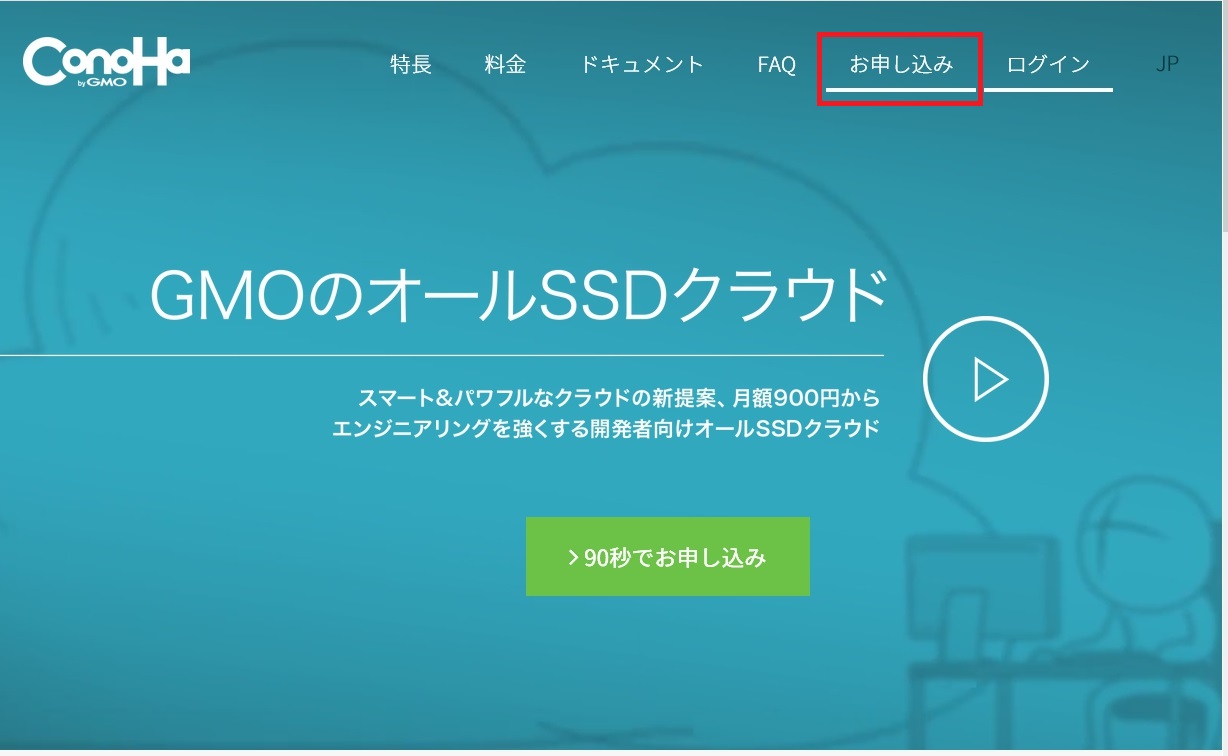
[ConoHa]![]() の「お申し込み」ページからアカウント・決済方法などを登録してください。手順は省略します。
の「お申し込み」ページからアカウント・決済方法などを登録してください。手順は省略します。

ログイン・サーバ追加
ログインしてメニューの「サーバー」をクリックして、「サーバーリスト」を表示させてみます。
右上の「+サーバー」でサーバを追加しましょう。

設定は下記のようにセットしてください。今回はIPv6を使用しないようにしています。

サーバ一覧の確認
サーバの追加はあっという間に終わります。

サーバの詳細を確認してみましょう。

SSHログイン
ここから先はSSH経由で作業します。
WindowsならTeraTermなど、Macならターミナルなどでログインしてください。
ログイン先のサーバは上記のサーバの詳細で確認したIPアドレス、ユーザはroot、パスワードはサーバ追加時に設定したパスワードです。
rootパスワードの設定
ここから先はすべてrootで作業します。
先ほど設定したrootのパスワードが気に入らない場合は修正しておきましょう。
$ passwd root
Changing password for user root.
New password:パスワード入力
Retype new password:パスワード再入力
passwd: all authentication tokens updated successfully.
SELinuxの無効化
“SELINUX=disabled“となっている場合は変更の必要がありません。先に進みましょう。
$ vi /etc/selinux/config
/etc/selinux/config(抜粋)
SELINUX=disabled
SSHログイン用ユーザの追加
SSHでログインする際、最初からrootでログインするのはセキュアではないため、
別のユーザを作り、パスワードを設定します。
今後は、別ユーザでログインしてからrootになる、という流れを作るわけです。
$ useradd sshuser
$ passwd sshuser
Changing password for user sshuser.
New password:パスワード入力
Retype new password:パスワード再入力
passwd: all authentication tokens updated successfully.
rootでのSSHログインの無効化
SSHでログインする際、rootでのログインを許可しないように設定します。
$ vi /etc/ssh/sshd_config
/etc/ssh/sshd_config(抜粋)
#PermitRootLogin yes
PermitRootLogin no
変更を反映します。
$ systemctl restart sshd.service
次回以降のログインの流れについて触れておきます。
先ほど作ったsshuserでログインした後、rootになるには以下のように入力します。
$ su -
Password:パスワード入力
sshuserでログインする流れを確認したところで、
SELinuxの設定変更の反映もしておきたいので、サーバを再起動します。
$ reboot
再度SSHでアクセスできるようになったら、sshuserでログインし、rootになります。
IPフォワーディングの有効化
$ vi /etc/sysctl.d/10-ipv4.conf
/etc/sysctl.d/10-ipv4.conf(抜粋)
#追記
net.ipv4.ip_forward = 1
変更を反映します。
$ sysctl -p /etc/sysctl.d/10-ipv4.conf
net.ipv4.ip_forward = 1
openvpnのインストール
$ yum -y install openvpn
この後、設定をしていくわけですが、先にパスワードを1つ決めておいてください。
各種証明書の作成時などに使います。
パスワード(A)とします。
CA証明書・秘密鍵の作成
$ cd /usr/local/src/
$ wget https://github.com/OpenVPN/easy-rsa/archive/master.zip
$ unzip master.zip
$ cp -r easy-rsa-master/easyrsa3/ /etc/openvpn/
$ rm -fr easy-rsa-master/
$ cd /etc/openvpn/easyrsa3/
$ ./easyrsa init-pki

init-pki complete; you may now create a CA or requests.
Your newly created PKI dir is: /etc/openvpn/easyrsa3/pki

$ ./easyrsa build-ca
Generating a 2048 bit RSA private key
............................................................................................+++
.................................................+++
writing new private key to '/etc/openvpn/easyrsa3/pki/private/ca.key.XXXXXXXXXX'
Enter PEM pass phrase:パスワード(A)入力
Verifying - Enter PEM pass phrase:パスワード(A)再入力
-----
You are about to be asked to enter information that will be incorporated
into your certificate request.
What you are about to enter is what is called a Distinguished Name or a DN.
There are quite a few fields but you can leave some blank
For some fields there will be a default value,
If you enter '.', the field will be left blank.
-----
Common Name (eg: your user, host, or server name) [Easy-RSA CA]:サーバ名入力(例: vpnserver)

CA creation complete and you may now import and sign cert requests.
Your new CA certificate file for publishing is at:
/etc/openvpn/easyrsa3/pki/ca.crt

$ cp pki/ca.crt /etc/openvpn/
サーバ証明書・秘密鍵の作成
$ ./easyrsa build-server-full server nopass
Generating a 2048 bit RSA private key
...................................................+++
...............................................................................+++
writing new private key to '/etc/openvpn/easyrsa3/pki/private/server.key.e7omRJmwXu'
-----
Using configuration from /etc/openvpn/easyrsa3/openssl-1.0.cnf
Enter pass phrase for /etc/openvpn/easyrsa3/pki/private/ca.key:パスワード(A)入力
Check that the request matches the signature
Signature ok
The Subject's Distinguished Name is as follows
commonName            :PRINTABLE:'server'
Certificate is to be certified until Feb  3 04:11:41 2026 GMT (3650 days)

Write out database with 1 new entries
Data Base Updated

$ cp pki/issued/server.crt /etc/openvpn/
$ cp pki/private/server.key /etc/openvpn/
DHパラメータの作成
$ ./easyrsa gen-dh
Generating DH parameters, 2048 bit long safe prime, generator 2
This is going to take a long time
(省略)

DH parameters of size 2048 created at /etc/openvpn/easyrsa3/pki/dh.pem

$ cp pki/dh.pem /etc/openvpn/
クライアント証明書(ダミー)の作成
$ ./easyrsa build-client-full dmy nopass
Generating a 2048 bit RSA private key
..................+++
..................+++
writing new private key to '/etc/openvpn/easyrsa3/pki/private/dmy.key.XXXXXXXXXX'
-----
Using configuration from /etc/openvpn/easyrsa3/openssl-1.0.cnf
Enter pass phrase for /etc/openvpn/easyrsa3/pki/private/ca.key:パスワード(A)入力
Check that the request matches the signature
Signature ok
The Subject's Distinguished Name is as follows
commonName            :PRINTABLE:'dmy'
Certificate is to be certified until Feb  3 04:14:46 2026 GMT (3650 days)

Write out database with 1 new entries
Data Base Updated

$ ./easyrsa revoke dmy


Please confirm you wish to revoke the certificate with the following subject:

subject=
    commonName                = dmy


Type the word 'yes' to continue, or any other input to abort.
  Continue with revocation: yes
Using configuration from /etc/openvpn/easyrsa3/openssl-1.0.cnf
Enter pass phrase for /etc/openvpn/easyrsa3/pki/private/ca.key:パスワード(A)入力
Revoking Certificate 02.
Data Base Updated

IMPORTANT!!!

Revocation was successful. You must run gen-crl and upload a CRL to your
infrastructure in order to prevent the revoked cert from being accepted.

$ ./easyrsa gen-crl
Using configuration from /etc/openvpn/easyrsa3/openssl-1.0.cnf
Enter pass phrase for /etc/openvpn/easyrsa3/pki/private/ca.key:パスワード(A)入力

An updated CRL has been created.
CRL file: /etc/openvpn/easyrsa3/pki/crl.pem

$ cp pki/crl.pem /etc/openvpn/
$ chmod o+r /etc/openvpn/crl.pem
OpenVPNの設定
$ vi /etc/openvpn/server.conf
/etc/openvpn/server.conf(全体)
port 1194
proto udp
dev tun

ca ca.crt
cert server.crt
key server.key  # This file should be kept secret
dh dh.pem

server 192.168.100.0 255.255.255.0

ifconfig-pool-persist ipp.txt

push "redirect-gateway def1"
push "dhcp-option DNS 157.7.180.133" # ConoHa DNS1
push "dhsp-option DNS 210.157.3.4"   # ConoHa DNS2

fragment 1280
mssfix 1280
link-mtu 1400

client-to-client

keepalive 10 120

comp-lzo

user nobody
group nobody

persist-key
persist-tun

status openvpn-status.log

log-append  /var/log/openvpn.log

verb 3

crl-verify crl.pem
サービスの登録・起動
$ systemctl enable openvpn@server.service
Created symlink from /etc/systemd/system/multi-user.target.wants/openvpn@server.service to /usr/lib/systemd/system/openvpn@.service.

$ systemctl start openvpn@server.service
Firewallの設定
$ firewall-cmd --permanent --zone=public --add-masquerade
$ firewall-cmd --permanent --zone=public --add-port=1194/udp
$ firewall-cmd --reload
$ firewall-cmd --list-all
public (default, active)
  interfaces: eth0
  sources:
  services: dhcpv6-client ssh
  ports: 1194/udp
  masquerade: yes
  forward-ports:
  icmp-blocks:
  rich rules:
クライアント証明書・秘密鍵の作成
複数ユーザ分を作る場合は繰り返してください。
$ cd /etc/openvpn/easyrsa3/
$ ./easyrsa build-client-full ユーザ名
Generating a 2048 bit RSA private key
...............................................................+++
...................................+++
writing new private key to '/etc/openvpn/easyrsa3/pki/private/ユーザ名.key.XXXXXXXXXX'
Enter PEM pass phrase:ユーザ個別のパスワード入力
Verifying - Enter PEM pass phrase:ユーザ個別のパスワード再入力
-----
Using configuration from /etc/openvpn/easyrsa3/openssl-1.0.cnf
Enter pass phrase for /etc/openvpn/easyrsa3/pki/private/ca.key:パスワード(A)入力
Check that the request matches the signature
Signature ok
The Subject's Distinguished Name is as follows
commonName            :T61STRING:'ユーザ名'
Certificate is to be certified until Feb  3 04:25:02 2026 GMT (3650 days)

Write out database with 1 new entries
Data Base Updated

$ cp /etc/openvpn/ca.crt /home/sshuser/
$ cp /etc/openvpn/easyrsa3/pki/issued/ユーザ名.crt /home/sshuser/
$ cp /etc/openvpn/easyrsa3/pki/private/ユーザ名.key /home/sshuser/
$ chown sshuser:sshuser /home/sshuser/ca.crt
$ chown sshuser:sshuser /home/sshuser/ユーザ名.crt
$ chown sshuser:sshuser /home/sshuser/ユーザ名.key
各証明書・秘密鍵のユーザへの配布
一つ前の手順で/home/sshuser以下に設置しましたので、
SFTPなどでログインしてダウンロードするとよいでしょう。
ca.crt
ユーザ名.crt
ユーザ名.key
また、下記の情報も伝えます。
ユーザ名
ユーザ個別のパスワード
クライアントの接続設定
過去の記事を参考にしてください。
接続の確認
接続が完了したら、自分のIPアドレス確認用のサイトに行って確認してみましょう。
[ConoHa]![]() で与えられたサーバのIPアドレスになっていたら成功です。
で与えられたサーバのIPアドレスになっていたら成功です。
IPアドレス確認|Web便利ツール@ツールタロウ

さいごに
必要最小限の作業にとどめたつもりでいるのですが、課題は色々あると思います。
例えば、
- SSHはどこからでも接続できてしまう(→Firewallで閉じ、普段は[ConoHa]のコンソールから作業する等の対応は可能)
- このサーバの状態を監視する手段がない
などです。
適宜、環境に合わせて追加・変更していただき、快適な運用をしていただければ幸いです。
ここまでお付き合いいただきましてありがとうございました。
Webツールも公開しています。
Web便利ツール@ツールタロウ